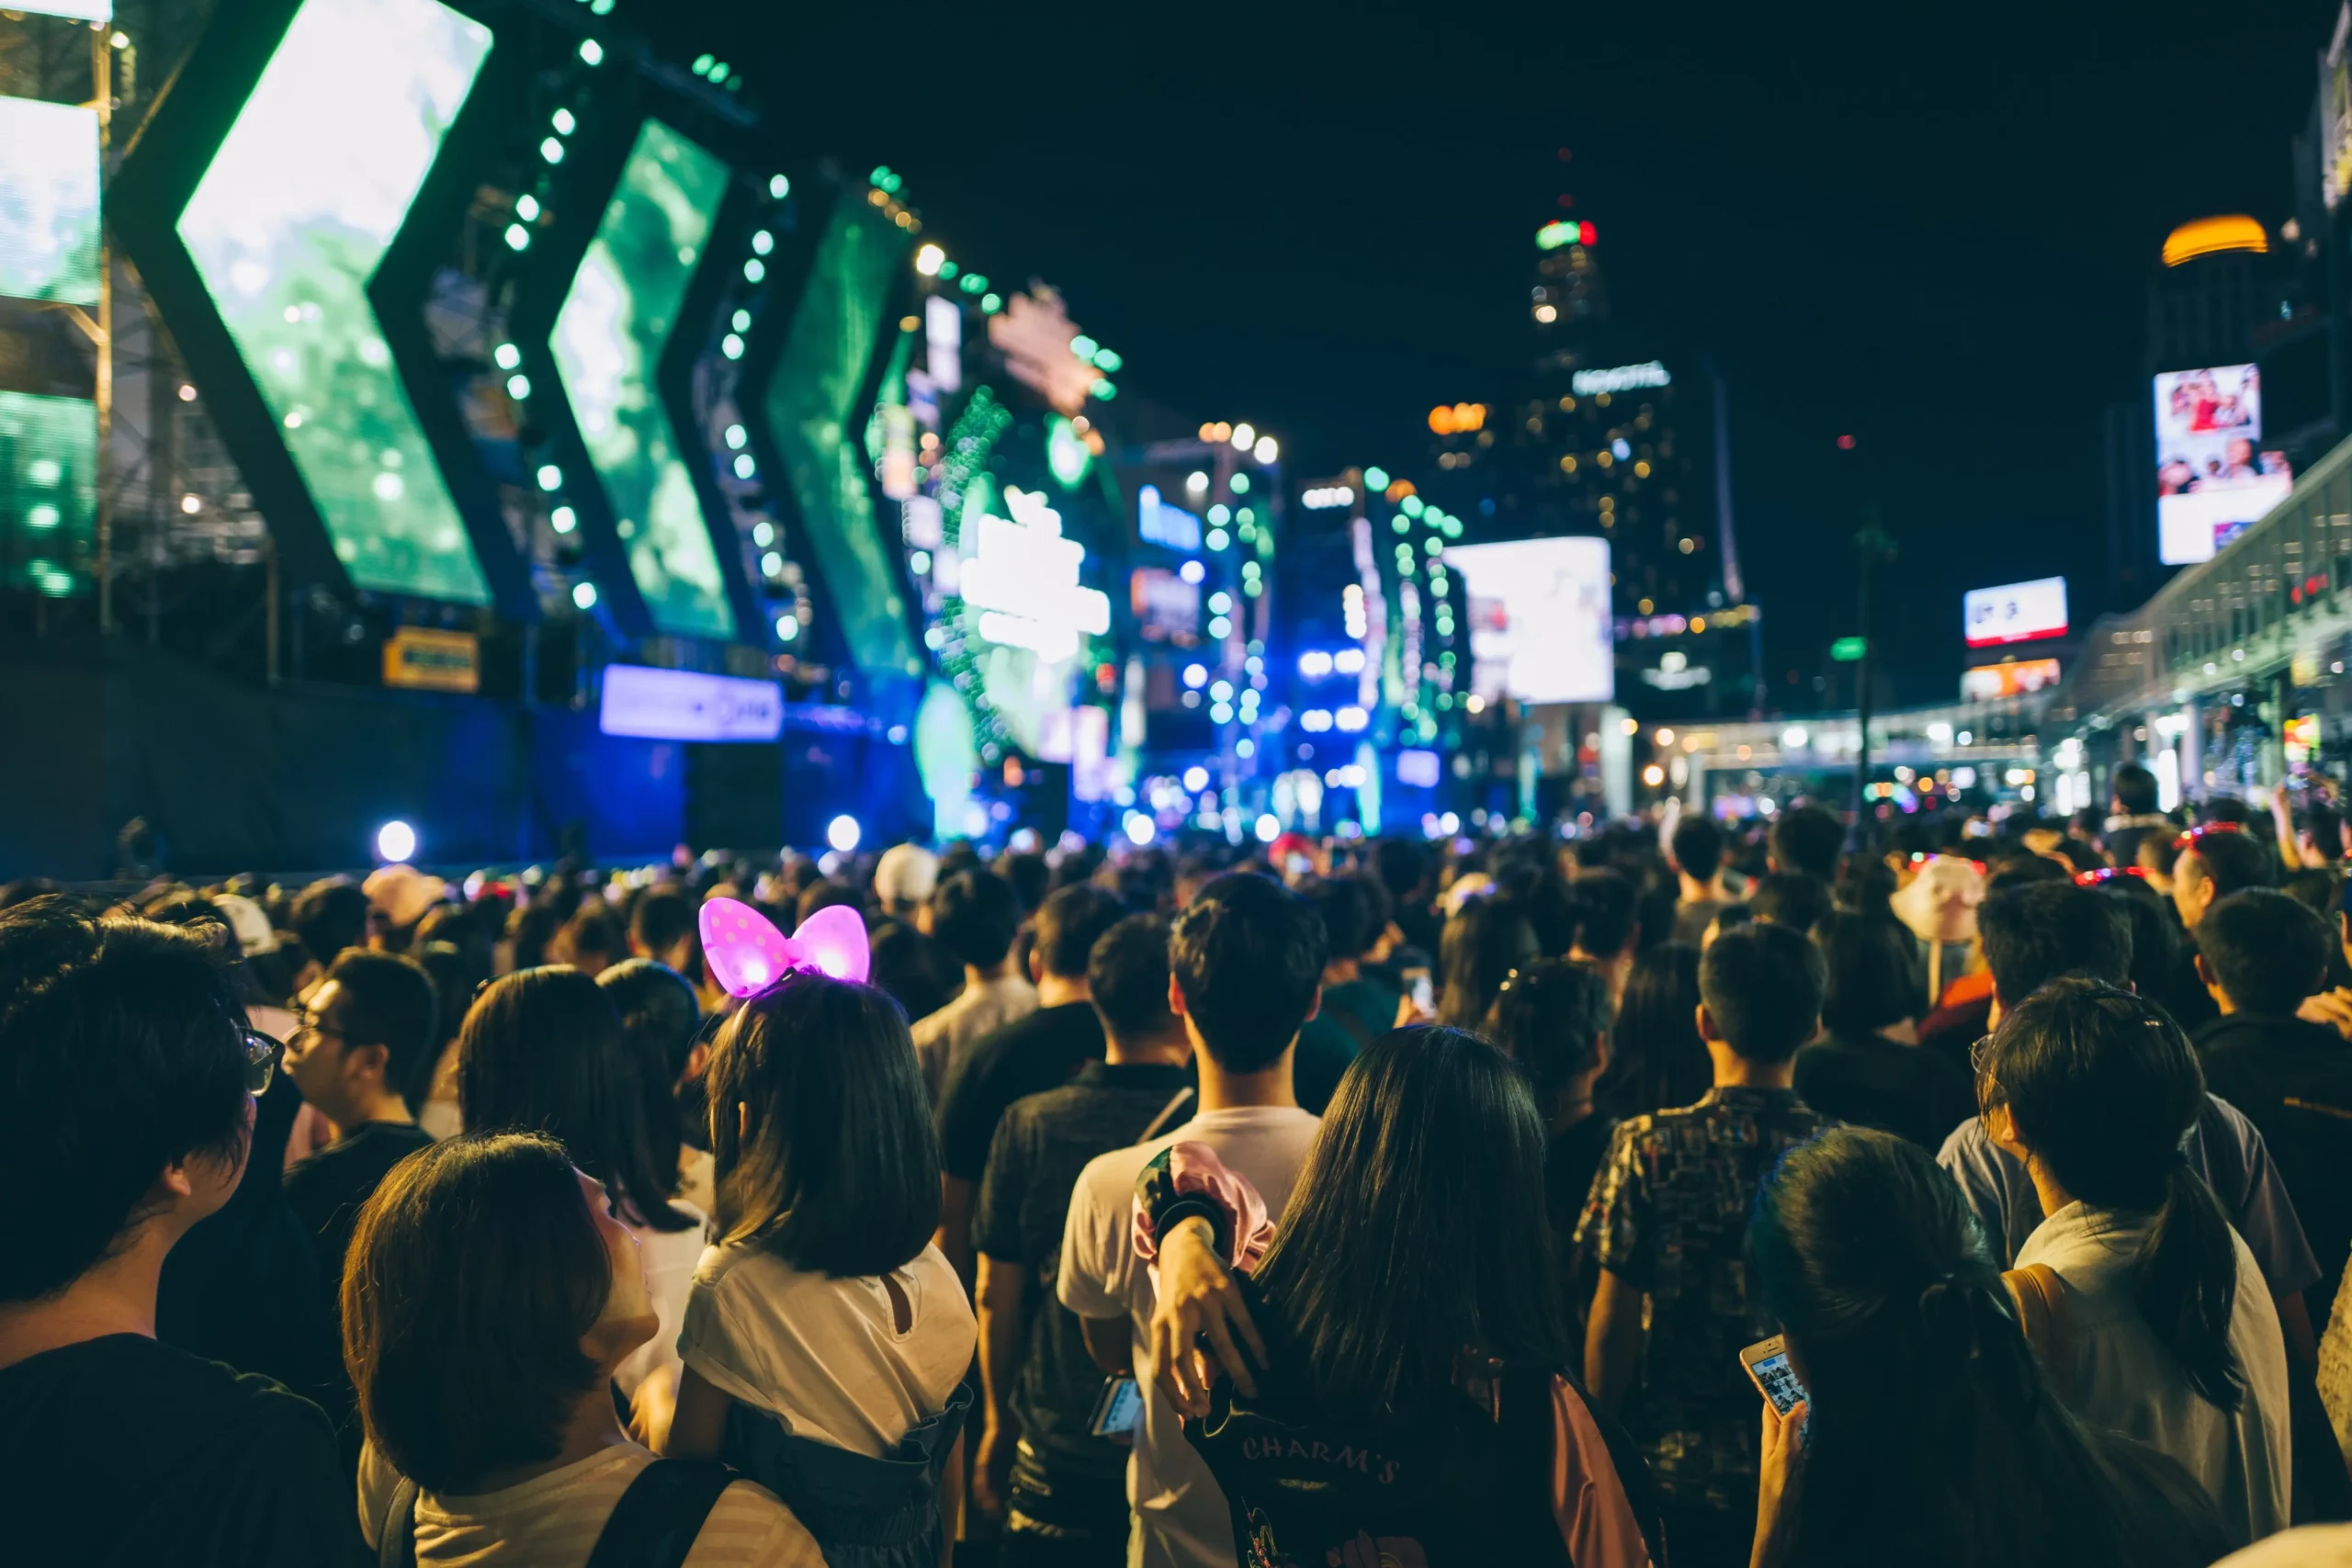
The holidays are here and with them come all the parties and celebrations. If you’re planning to organize an event – a party for your friends or family or a fundraising drive for your chosen cause – creating an engaging countdown page is fast and easy. If you’re looking for a new way to send your event invites to your guests, why not give the Countdown QR Code using QR Pages a try?
The Psychology of Countdowns
According to psychology, countdown clocks have proven effects in different settings. In sales in particular, seeing that an item or offer is only available for a short period of time creates a sense of scarcity, which increases the sense of urgency. Something that is available only for a few days or a few weeks a year will be more exciting and more likely to drive a customer to take action – that is, to buy – than a product that is available year-round.
Now that you have a general idea of what happens to our brains when we see countdowns, it makes perfect sense to add a countdown to your next event invitation.
What are QR Pages?
QR Pages are mobile-optimized landing pages that you can make on your QR Cloud account. It allows you to make a landing page without having to sign up to a separate website platform. What’s more, you have over 40 different block options to choose from.
What are Countdown QR Codes and QR Pages?
A countdown QR Page is exactly what you think it is: a landing page that has a countdown for your event. By adding a countdown on your event invitation, you create a sense of urgency and anticipation to your guests, making them look forward to the day.
How to Create a Countdown QR Code and QR Page
Creating a countdown QR Page for your upcoming event in just four basic steps.
- Create an account on QR Cloud. Don’t worry if you’re not yet ready for a commitment and simply want to test it out. Our QR Code marketing suite has a 7-day free trial to our pro plan so you can see if our affordable plans are for you.
- On your dashboard, click Create Link and choose QR Page from the dropdown menu. Type in your custom URL or leave blank for a system-generated one.
- On the settings page, you can customize the background – change the color or add an image. You can add your branding or remove the default branding. You can also change the font and font size. Add a password if you want to limit access to your QR Code or enable sensitive content warning for further protection. Once you have set up your page however you like, you can add blocks.
- Blocks are the contents of your landing page. Here, you can add whatever you want. For my invitation, I added an mp3 clip that guests can play when they visit the page. (You can add up to 5mb.) I also added an image, the countdown block, and an additional call-to-action button for RSVP. You can rearrange the blocks by dragging them around.
When you’re satisfied with what your page looks like, you can simply click the URL located at the top of your settings page and see if your page works as intended. You’re done!
If you want, you can also create a QR Code that you can send to your guests.
What Other Blocks Can I Add on My Countdown QR Page?
There are 45 unique blocks to choose from to design the best page for your event. A logo, an audio clip, a video, a slideshow of your best images, and a call to action (for RSVP or ticket sales) are appropriate for your mobile-friendly page. While it could be tempting to add a lot of blocks to your page, remember that your landing page shouldn’t have too many elements that can distract your visitors from what you intend them to do – in this case, attend your event. In fact, your guests should not have to scroll down to see your countdown and CTA button. The less distractions there are, the better.
Create a Countdown QR Code with Your QR Page
Creating a QR Code for your new page is optional. But if you want to generate one to make going to your QR Page faster and easier, you can do so without leaving QR Cloud and looking for another QR Code generator.
- Copy the URL of your QR Page.
- Go to the QR Code Generator.
- Under QR Type, select URL.
- Paste the URL of your QR Page.
- Design your QR Code.
- Do a test scan to make sure it works.
- Download the QR Code and send it out to your guests.
It’s that simple! Now you have a QR Code and a page that has your countdown – all under the same QR Code Marketing Suite.
The Bottom Line
Digital invitations are a fast and easy way to send out invitations to your events. You can create simple image invites in JPG or GIF format to send out to your guests. But why stop there when you can make an interactive web page that is perfectly suitable for viewing on their smartphones.
If you’re looking for an affordable and reliable way to create a custom mobile-friendly page for your upcoming event, QR Cloud’s countdown QR Code using QR Pages could be the perfect solution for you. Try QR Pages by signing up for our 7-day free trial here.
Frequently Asked Questions
The answer is yes. All you have to do is click the block, go to Advanced, and set your limits. You can limit the block according to location, device, or operating system. You can also set the date or time until your button expires. Isn’t that awesome?
The answer, again, is yes! This is because QR Pages are the power behind dynamic QR Codes. If you make a QR Code with the URL of your QR Page, all you have to do is go to the settings of your QR Page and jump to advanced. Here, you will see a Leap Link subfield. Paste the new URL – this can be another QR Page or any web page – on the field and click Update. You can do this over and over again, so you don’t have to generate a new QR Code once your event or campaign expires.